Gardens
How to Create a Garden

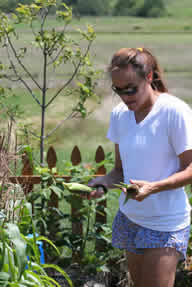
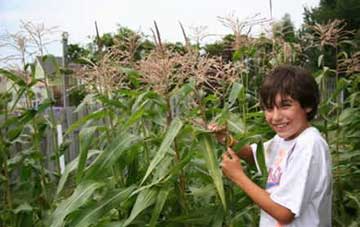
Sprouting potatoes, May 2010 and me checking on the corn last year
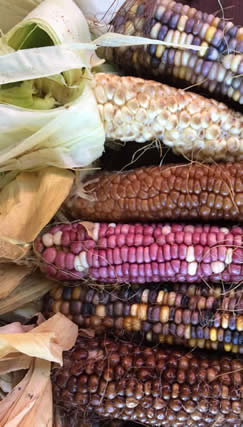 Beautiful corn, 2017
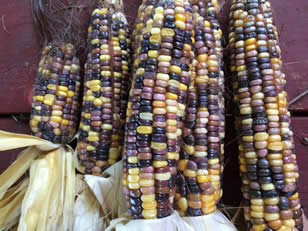 Glass gems, 2017
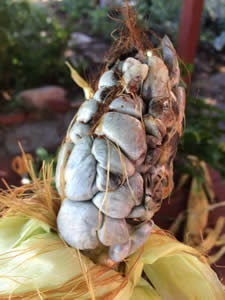 Huitlacoche (corn smut) 2017
 Indoor sprouts, April 2014
 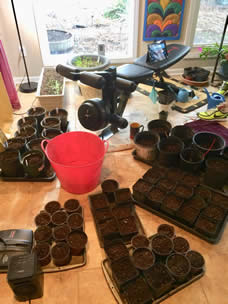 Getting pepper and tomato sprout pots ready 2018
Full bloom, August |
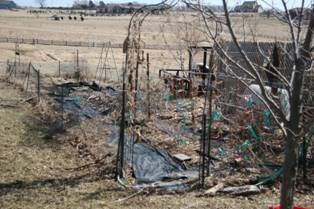
All pooped out, January |
|---|---|
Starting to get going, June |
One of the many sunflowers that come up year after year around the garden edge |

Planting and cultivating gardens large enough to feed our families and to keep us active is one option, and the inspiration for planting is multifold: Gardening is vigorous and satisfying work. Working in a garden allows people of all ages to participate in the various stages of cultivation. Research has shown that garden-grown produce (from seeds of traditional, native seed) is more nutritious than market/grocery produce. For example, Arikara squash is higher in beta-carotene, calcium, chromium, fiber, magnesium and vitamin E than market squash. Oneida hominy corn is higher in pantothenic acid and thiamine and lower in fat and sodium than market corn.
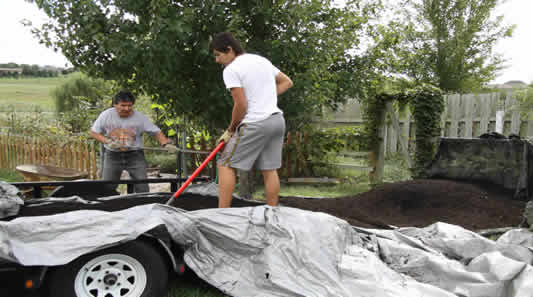
Below: Son Tosh and husband Josh shovel mulch, October, 2010
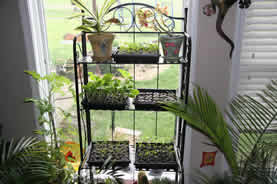
Even if we don’t have yard space or adequate ground for a garden, we can garden in pots. Still, we would need many pots to have enough food for a family for the fall after cultivation, but even a few pepper, tomato, herb and. squash plants can be greatly empowering and symbolic.
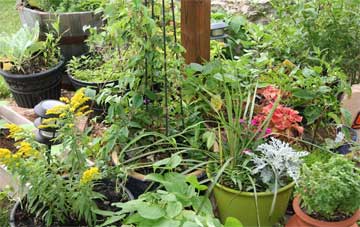 Container garden 2008
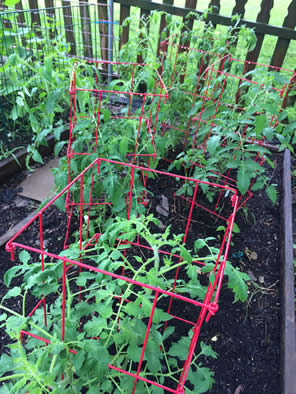
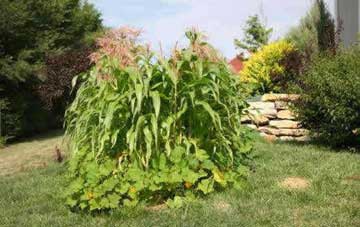
Tpmatoes in cages, 2017. Three Sisters below.
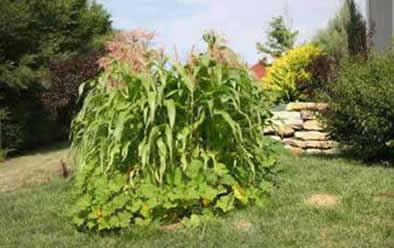
2008: My 14-year-old son’s Three Sisters’ Garden - Summer and Winter. This area used to alternate with the potatoes. Now a greenhouse sits here.
You do not have to have acres of land to plant a productive garden. If you properly prepare and maintain it, even a small plot of land can yield vegetables you like. It initially takes some work and determination to get the garden started, but the better-prepared the garden is, the less maintenance it will require. These are the steps that have worked for me. Other gardeners will no doubt have a variety of strategies that also work for them. Ask around for advice. Search the web for gardening tips and look in your bookstores for more in-depth information. Visit your local nursery and you will find numerous people willing to talk to you.
What you will need:
Gloves (it only takes a few minutes of working with dirt to split fingernails)
Shovel
Spade
Hoe
Hose (I prefer a soaker hose that you can bury, turn on and off without having to spray each row yourself)
For tall plants like tomatoes, a metal cone the plants can lean on
For cold environments, “Walls of Water,” plastic wrap with tubes you fill with water that encircles the plant to keep it warm
Tall stakes for pole beans to climb if you do not plant corn
Either a rented rotor tiller to break up the hard soil and mix fertilizer, or a strong back that can do the same with a shovel.
Steps to a garden:
First, plan your garden.
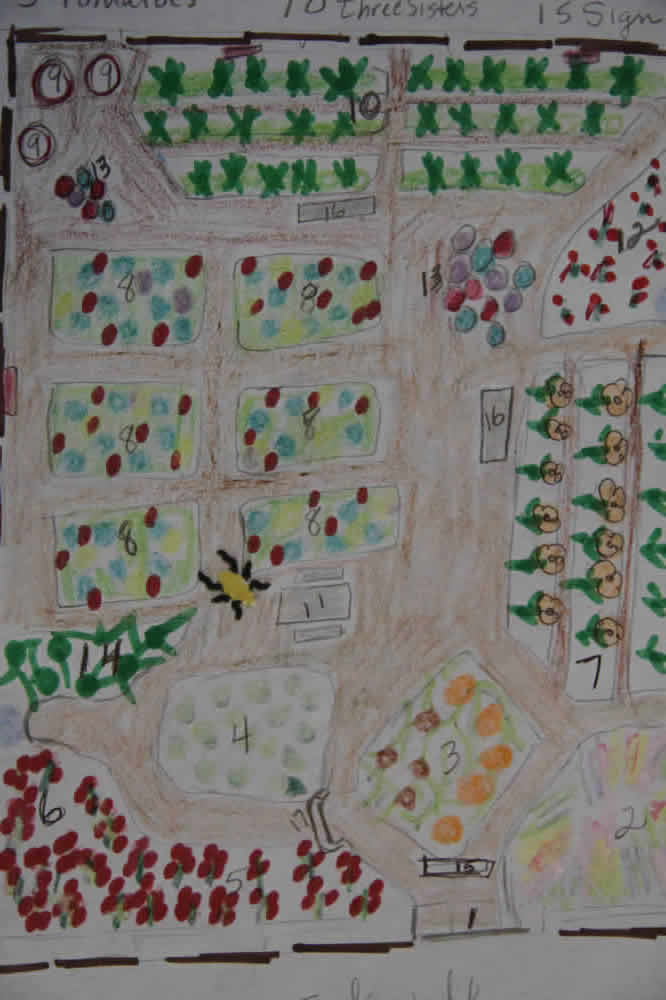
My first garden draft, enhanced with crayons and bug stickers
1. Entry 2. Decorative Native Grass 3. Pumpkins and Gourds 4. Bush Beans 5. Tomatoes 6. Tomatoes 7. Sunflowers 8. Raised bed Gardens (onions, herbs, peppers, strawberries, watermelon) 9. Compost 10. Three Sisters (several types of corn and squash) 11. Picnic Table 12. Peppers 13. Containers (tomatoes, peppers) 14. Potato Mounds 15. Sign Kiosk 16. Benches 17. Arch 18. Bird Feeders
Find the place in your yard that has afternoon sun. If possible, it should be a place where you can see it from your house in case birds and animals decide to eat your crops.
FENCING
If you know that you have rabbits, deer, elk or other animals that will be attracted to your garden, it will be necessary to fence it. You do not need an expensive chain link fence.
Below: I use a picket fence around my largest garden.
Left: 2007; rt: replaced some of the wood that rotted, 2018
You can use six-foot wood or metal poles that you place it the ground one foot. Use a post hole digger to make sure the hole isn’t too wide and will make the poles wobbly. Instead of cement to secure the poles, you can pack the hole with dirt and water. Slowly add water to the dirt as to firmly pack the soil around the base of the pole.
We use range fencing instead of chain link. Check local used building supply stores for “pre-owned” fencing. After the dirt has hardened, you will need at least two people to assist in stretching the fencing and attaching with metal wire.
To keep out digging animals, get a roll of chicken wire and bend it in half length ways. On the outside of the fence, have half the wire rise vertically up the fence and the other half lay horizontal on the ground. This keeps skunks, rabbits, etc from digging underneath.
Below: I raced sleddogs when I lived in Flagstaff, AZ. Keeping the dogs in was a challenge and I used the same concept to keep animals out of my garden.
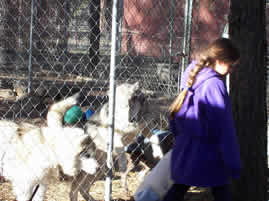
Ari feeds Nocona, Scully and Nikki
SOIL
Some people plant without taking into account their soil composition and they have good luck initially. After a few years, however, the soil “plays out” and they have poor yields, if any, of vegetables. If you decide to become a gardener, you will need to check to see the type of soil you have. Serious gardeners will take their soil in to a soil laboratory to find out how much sand, clay, loam, etc., their soil contains. You can also check with your local nurseries who will probably know this information about your area from other gardening customers. Many nurseries sell soil-testing kits.
One way you can find out for yourself is to take a sample of soil from your garden area about eight inches into the ground. Add soil to a quart jar that is filled 2/3 with water until the jar is filled. Add one tablespoon of water softener. Put on the lid and shake the contents. Sand will settle to the bottom, then silt, and clay on top. After two-three hours, look at the layers:
Sandy: less than 5% clay
sandy loam: 5 to 10 % clay
medium loam: 10 to 20 % clay
clay: 25 to 30 % clay; more than that is heavy clay
So what does this mean? Loam is the best soil. If you have too much sand or clay, add organic mix so that you have almost one-half of your soil organic matter. You can buy bags of organic matter at nurseries. Be certain that you tell the nursery staff as much as you can about your environment and bring in a soil sample with you.
COMPOSTING
You can start your own compost bin so you will have organic material each year for your garden. Use a garbage bin, preferably a plastic one. Drill holes along the sides so air can circulate. Add food scraps (no meat or walnut shells), straw, grass clippings, coffee grounds, chicken and pigeon droppings (no dog, cattle or cat waste) to the can and periodically add water and sawdust shavings and do your best to mix it up. Cover with a lid and let it set for a year, or until it looks and feels like soft loam. Don’t add “hot” material to your garden until it is decomposed. Adding chicken waste too soon, for example, will rob your plants of nitrogen as it breaks down.

Tosh used one of our compost bins for a science experiment to see how kitchen waste breaks down in winter. Normally, we do not use a tarp, but for this project he tried to keep heat in.
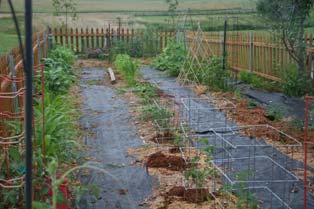
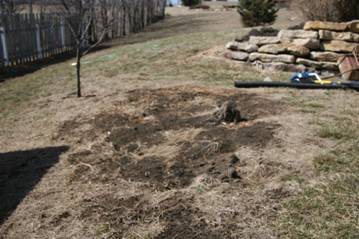
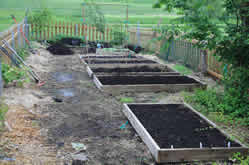
PREPARE YOUR SOIL
Prepare your soil by moving rocks, pulling weeds (by the roots to ensure they won’t re-grow), and tilling. Either use the rented rotor tiller or shovel through the dirt thoroughly. Add your organic matter to mix the materials.
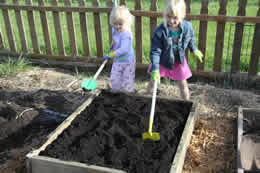
Smooth your garden soil, like my neighbors Jackie and Jill below:
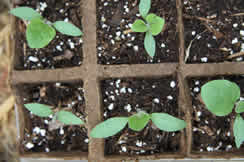
If you live in an area with a short growing season, you can do one of two things: plant seedlings in indoor containers and wait until it is warm enough to transplant them outside. Or buy plants that are already 3-5 inches high from a nursery. I have planted watermelon, pole beans, radish and sunflower seeds before the danger of frost has passed, but I cover the area with a tarp to keep in the warmth.
Below: Start seedling indoors so they'll get a strong start before moving to the harsher outdoors. These peppers started in my greenhouse.
If you decide you want to grow pumpkins, for example, here is a great site that tells you how to get started and which pumpkins should be started indoors: http://www.pumpkinnook.com/growing.htm
Squash and zucchini will spread out, so make sure you have a distance of four feet between rows (and at least two feet between plants in the rows) where you plant them.
Peppers, green beans, okra, onions, radishes, etc. only need a few feet between rows and a foot or less between plants.
Tomatoes will need support, so buy metal cones and place them around the tomatoes when the plants are young; if you wait until they are two feet high, the stems with break if your bend them.
WATERING
I used to use a garden hose to water the plants, but that proved to be wasteful Now I bury a soaker hose next to the plants and my rows “snake,” that is, at the end of one row, the hose turns a corner and I plant seeds or plants around that corner alongside the hose. I have very little wasted space.
I water once a day for 15 minutes initially (evenings after the sun begins to set) and when the summer weather heats up, I water again in the mornings. If you have a soaker hose, then just turn on your faucet. I use an egg timer so I don’t forget to turn it off.
Depending on your environment, sometimes the plants at the end of your soaker hose don’t get as much water as they need, which is why you should plant the plants that need much water (squash, melons, tomatoes) towards the “beginning” of the hose and place peppers towards the end. To make up for this deficit, I use “Aqua Cones,” which are plastic cones about six inches long that you place into the ground with a two-liter bottle attached to it. After cutting the bottom out of the container, add water to the bottle and it goes directly to the plant roots. You can order them at Gardeners Supply at http://www.vg.com/department.asp?DeptPGID=18252
Recruit your family to assist you in pulling weeds. The more you water, the more weeds will proliferate.
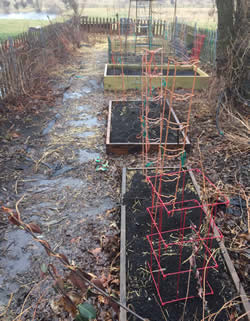
Planting the Three Sisters:
I plant the Three Sisters in different ways. One way is in rows, so that each plant is separate from the others (although this is not the “interactive” way to plant them). Another is to follow these instructions from NativeTech: Native American Technology and Art at http://www.nativetech.org/cornhusk/threesisters.html (although I don’t create mounds and I put a soaker hose around each “circle” of plants).
1. In late May or early June, hoe up the ground and heap the earth into piles about a foot high and about 20 in. across. The centers of your mounds should be about four feet apart and should have flattened tops.
2. First, in the center of each mound, plant five or six corn kernels in a small circle.
3. After a week or two, when the corn has grown to be five inches or so, plant seven or eight pole beans in a circle about six inches away from the corn kernels.
4. A week later, at the edge of the mound about a foot away from the beans, plant seven or eight squash or pumpkin seeds.
5. When the plants begin to grow, you will need to weed out all but a few of the sturdiest of the corn plants from each mound. Also keep the sturdiest of the bean and squash plants and weed out the weaker ones.
6. As the corn and beans grow up, you want to make sure that the beans are supported by cornstalks, wrapping around the corn. The squash will crawl out between the mounds, around the corn and beans.
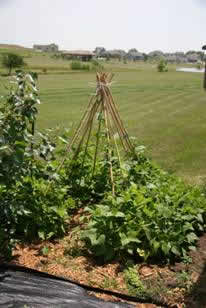
ARCHES
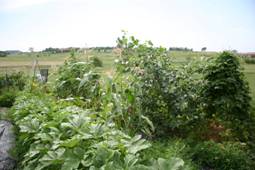
Another way to plant pole beans is to use long green poles to form what looks like a tipi frame and plant pole beans at the base of the poles. By August my kids have a dense “wall” of green bean vines and leaves to hide behind.
 |
 |
|---|---|
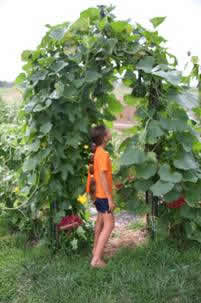 |
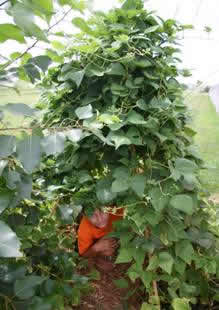
One can grow gourds on a fence, or an arch. This nine-foot high arch supported one gourd plant. The vines attached to the garden fence then made their way to the dog kennels and would have completely covered those fences if they have not been pruned back.
I also plant pole beans and cucumbers at the end of the rows at the base of a tall circle of range fencing (the soaker hose curls nicely around the base) they can latch on to grow up.
Gardens
Garden Photographs
Three Sisters Garden
Butterfly Garden
Container Gardening
Hoop House Garden
How to Create a Garden
Potato Garden
Raised Bed Gardens
Watch Our Gardens Grow, 2008